11 Steps – How to Install a ROOFNEST Tent (with pictures) 2023

This post contains affiliate links.

Wondering how to install a Roofnest Tent onto your vehicle? Look no further, this article will show you step by step how easy a Roofnest Installation is.  

Whether you’ve just purchased your Roofnest or are planning to in the near future, this post will teach you how simple it is to install a Roofnest Tent. This is a relatively simple process that almost anyone can do.  Just be sure to have a friend (or several) to lift the Roofnest onto the vehicle. Before installing, be sure you have a good set of top bars.

You will need: A deep 13mm socket and ratchet, a tape measurer, and friends to lift the nest. 


STEP 1: Your Roofnest Has Arrived!

You will have to schedule a time for your Roofnest to be delivered. It will be on a crate and will look like this. 

STEP 2: Cut Off Straps

Cut off all straps.  They are pretty hefty, so you will need some wire cutters, a sharp knife, or a strong pair of scissors.  

STEP 3: Open the Box

With a friend, carefully lay the box down on its side – top side up. Carefully cut & peel back the cardboard.

STEP 4: Peel Back Plastic

Cut the plastic coating with scissors and carefully peel it back to reveal your shiny, new Roofnest.  Admire the beauty! 

STEP 5: Access the Inside

Unlatch all 4 sides and pop your Roofnest so you can access the inside. Locate and remove the ladder & hardware.

roofnest installation

STEP 6: Hardware Prep

Prep your hardware.  I recommend setting it up like this to make your install run smoothly.

STEP 7: Lift & Position

With a buddy or 3, lift your Roofnest onto your top bars. Position the tent so it’s centered and even.  Use a tape measurer to ensure your nest is perched straight & be sure your open trunk doesn’t hit.  Keep the tape measurer handy, as you will be checking the placement throughout the install process.

STEP 8: Add the Hardware

Slide 2 bolts with metal plates into the grooves on the bottom of your nest.  Do this on the left and right side.  Lift the back of your nest and slide these 2 bolts to the center of the Roofnest, between your crossbars.  

STEP 9: Add More Hardware

Slide on the bolt, metal plate, & padded bracket from the front or back and slide it on the inside bolt you just placed.  Repeat on all 4 sides. 

STEP 10: Snug it Up

Snug up each bolt.  You still want to be able to move the nest for one last adjustment.  I’d highly recommend a deep 13mm socket to for this step.  A normal socket will bottom out and the wrench they give you will take much longer.

STEP 11: Measure & Tighten

Complete one last and final measurement and adjustment. Snug up all bolts so your Roofnest is secure.  

STEP 12: Love your Roofnest!

Climb up and enjoy your Roofnest!  Remember to drive for 10-20 miles and re-check positioning and hardware.

Thanks for reading this article.  We hope it made your Roofnest install quick and easy.  This article serves as a supplement to Roofnests installation instructions.  If you are still looking to purchase a Roofnest Tent, order here.  Feel free to reach out with any questions or comments.

Life’s better on top!

Like this post? Pin it to Pinterest! 

roofnest
roofnest installation
roofnest

About us.

We are Maddie & Ben, aka the Rooftop Trekkers.  Lovers of hiking, camping, exploring, and most of all – Rooftop Tents.  It’s our goal to provide the best rooftop tent reviews, tips, and travel itineraries    

Follow along and find out why Life’s Better on Top!

This Post Has 4 Comments

  1. Kalikiano Kalei

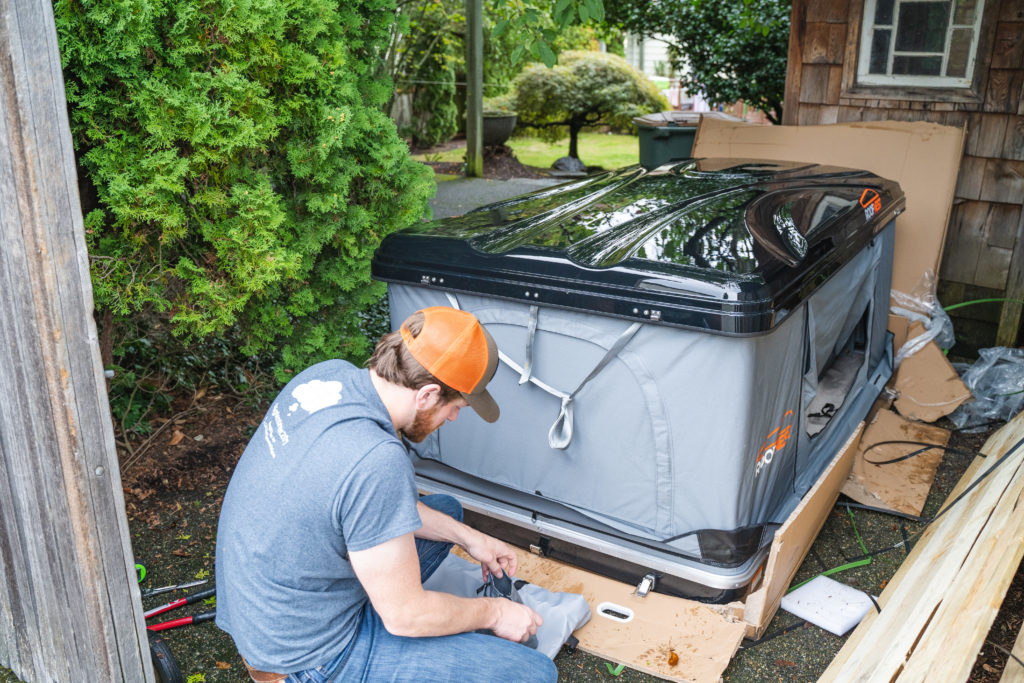
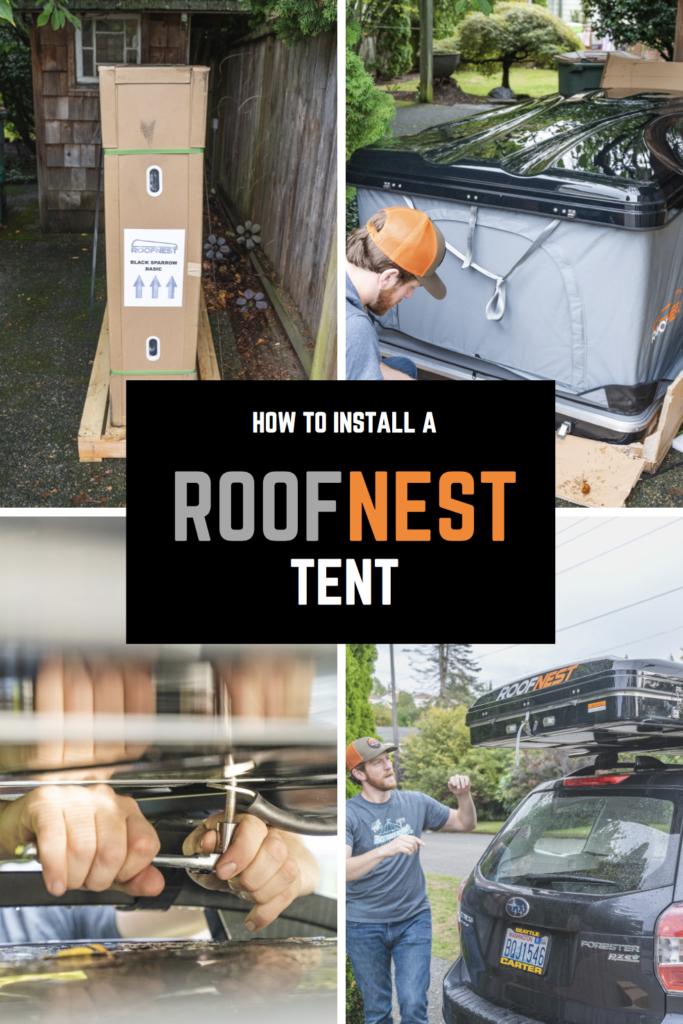
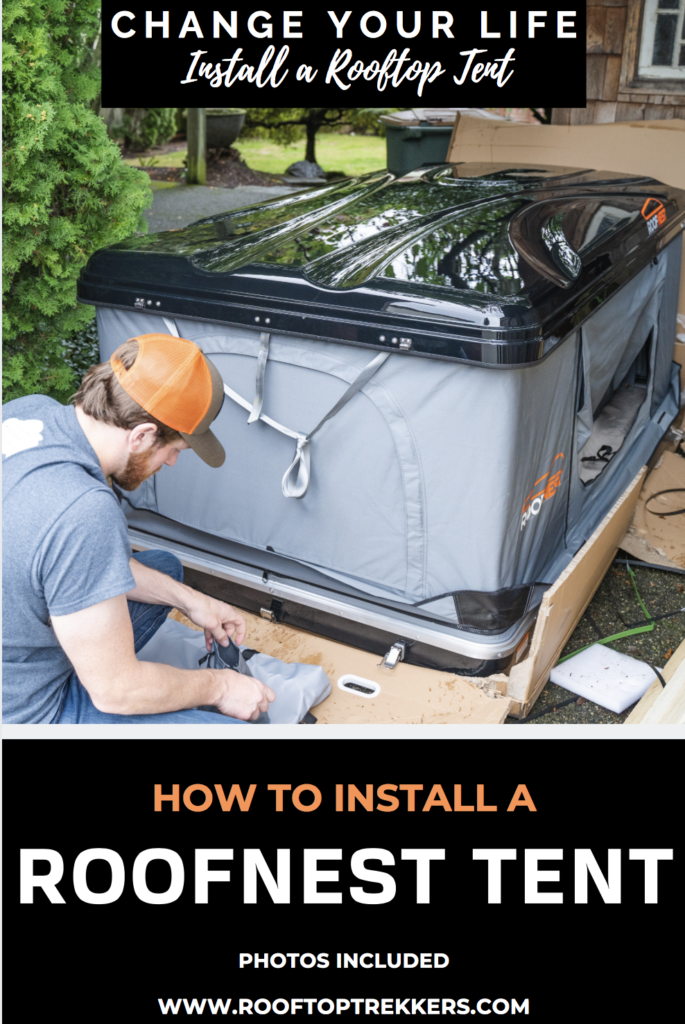
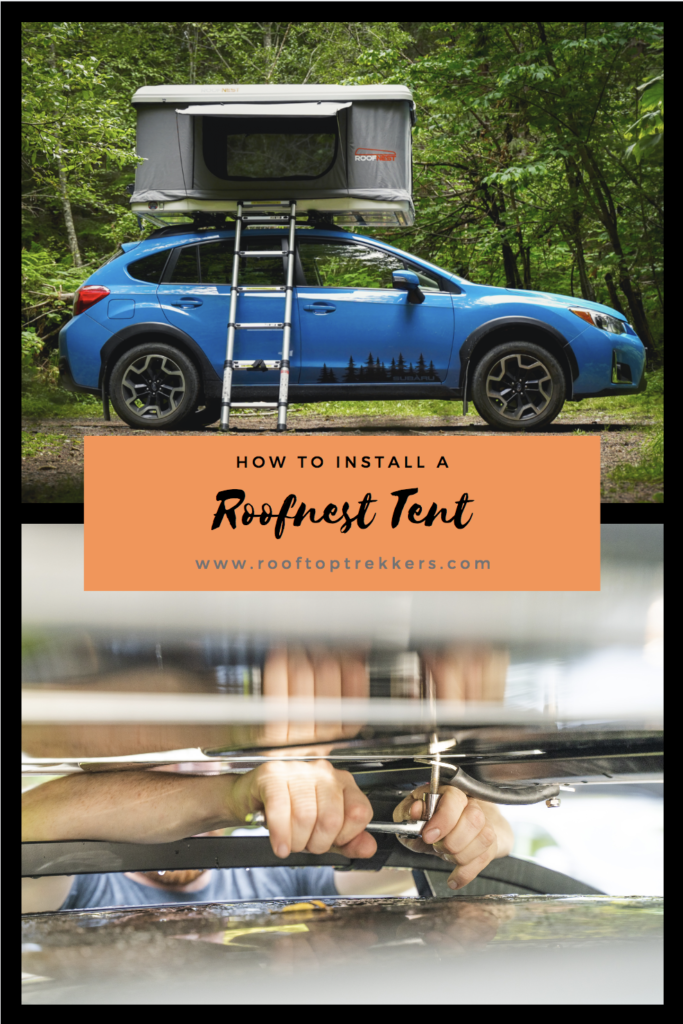
    Excellent article on installing a ROOF-NEST Sparrow rooftop tent on a vehicle! The pictures are all crystal-clear and easily grasped! Thanks for sharing your impressions with us. I just acquired a Roof-Nest Sparrow for my 1995 Chevy extended-cab K-series (Silverado) pickup and use it with a RHINO-RACK double crossbar assembly (permanent installation), but your instructions and insights are all VERY helpful!

    1. Ben Maund

      Glad to help! Thanks for stopping by the blog! 🙂 Happy roof top tent camping.

Leave a Reply

roofnest