We SUMMITED! Mt St Helens Hike Report
This post contains affiliate links.
Wondering what it’s like to summit Mount St. Helens? This post will explain how we climbed to 8,365ft and reached the rim of the volcano. Mt St Helens hike is difficult but well worth it.
GETTING THERE
We left Seattle, Washington on Saturday around 3:00PM and got to Climbers Bouviac Trailhead around 8PM. The drive was about 3.5 hours, but a pit stop for food and supplies added some extra time. With the Roofnest, we have the luxury of getting to the trailhead at any point and popping the top in under 60 seconds (even in the dark). I won’t lie, I certainly do not miss the hassle of setting up a tent or blowing up sleeping pads after a long day in the car. We set an alarm for 4:00AM and slept like babies.
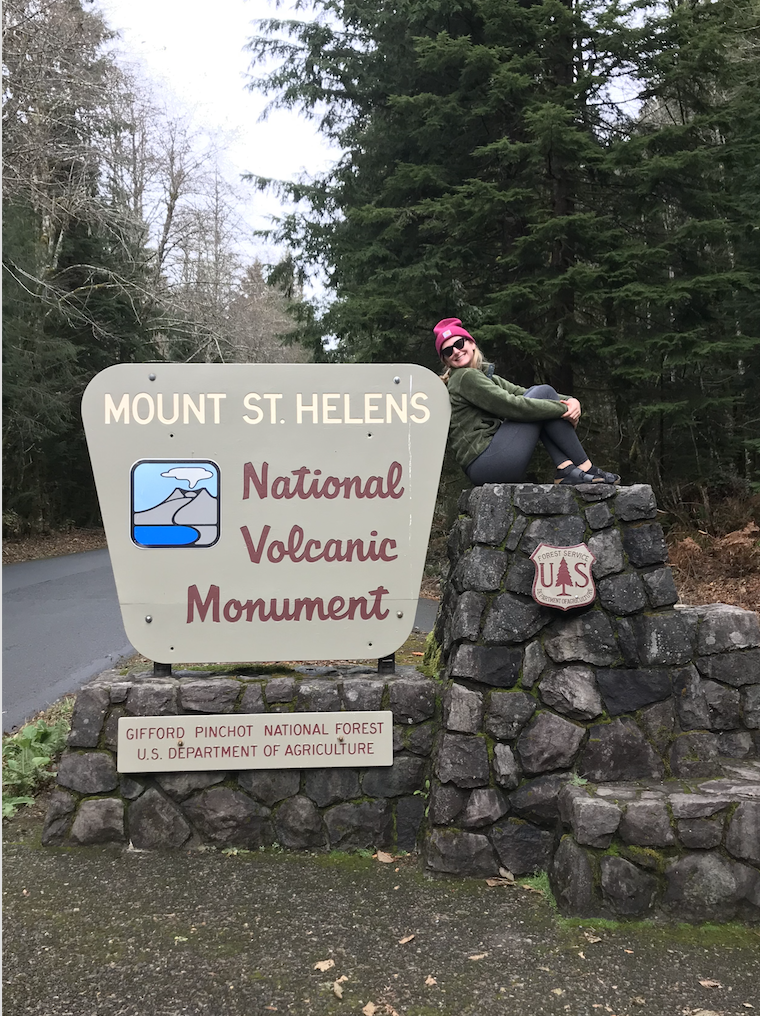
4AM WAKE UP CALL
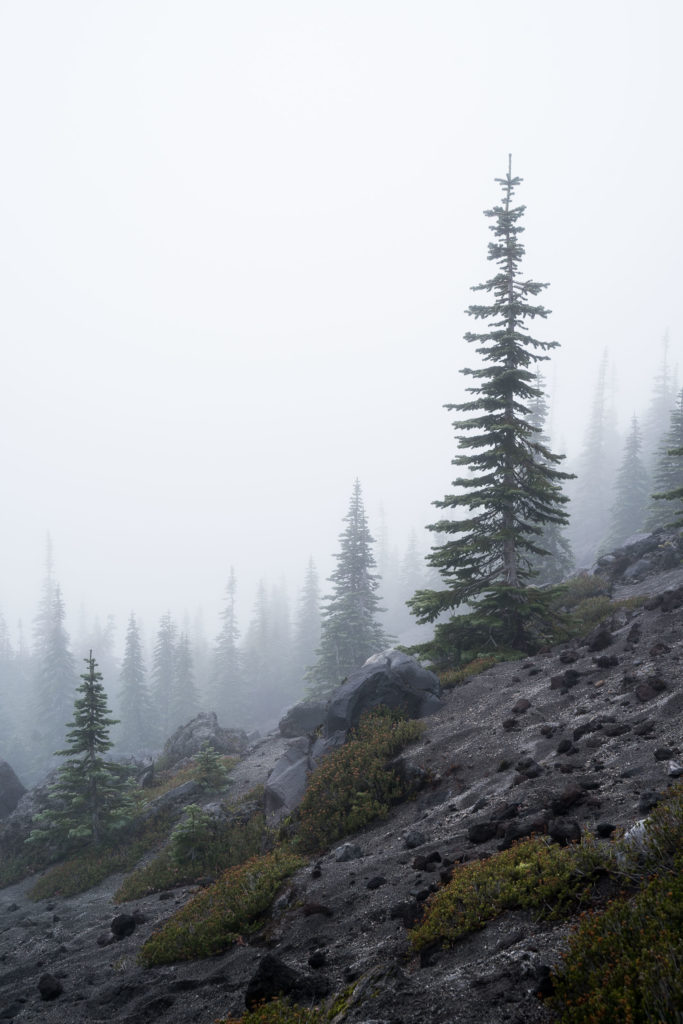
It was wet and misty in the morning which made it tough to get out of the tent, however the thought of catching the sunrise from the side of the mountain pushed us to get up and at it.
Here’s a few items we packed in our bags:
- Hiking poles
- Headlamps
- Nuun Tablets & water
- Rain shell
- 800 fill down jacket
- Sunglasses & Hat
- Buff
- Gloves
- Camera
Depending on conditions, microspikes, gaiters, and an ice-axe could be helpful. We read previous trip reports on WTA and saw that there was no snow/ice, so we left those items at home. Keep in mind that a permit is needed to climb above 4,800ft. on Mt. St Helens. Read more about their permit system here.
The Monitor Ridge trail can be broken up into 3 different sections. The woods, the boulder field, and the ash.
SECTION 1: The Woods
Yes. It was dark, cold, & rainy. Our headlamps and rain-shells came in handy for this part of the hike. We stopped several times to take off layers, stretch, and stand in the darkness with our headlamps off. Towards the end of the woods, there is a restroom stop that may come in handy for hikers. After roughly an hour in the forest, we reached the base of the boulder field.
SECTION 2: The Boulder Field
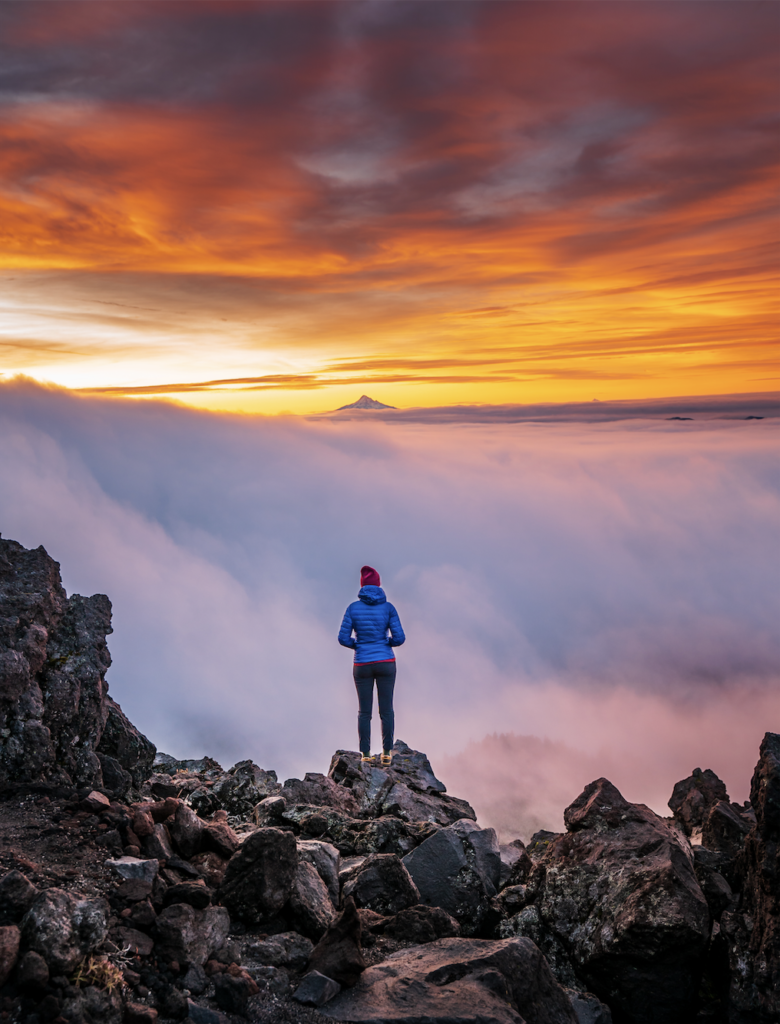
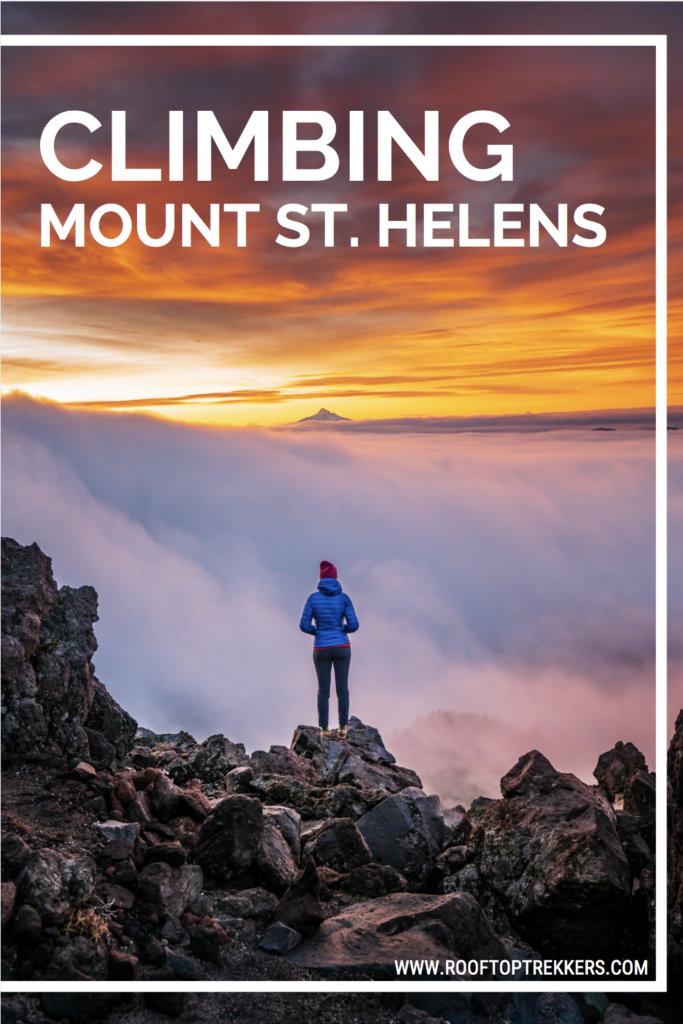
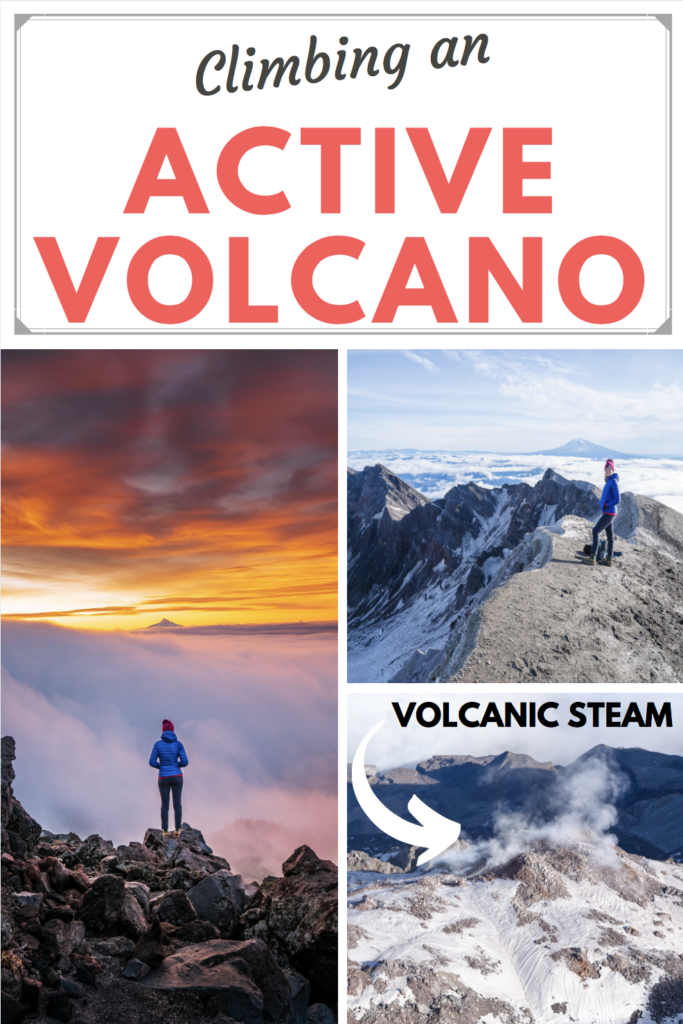
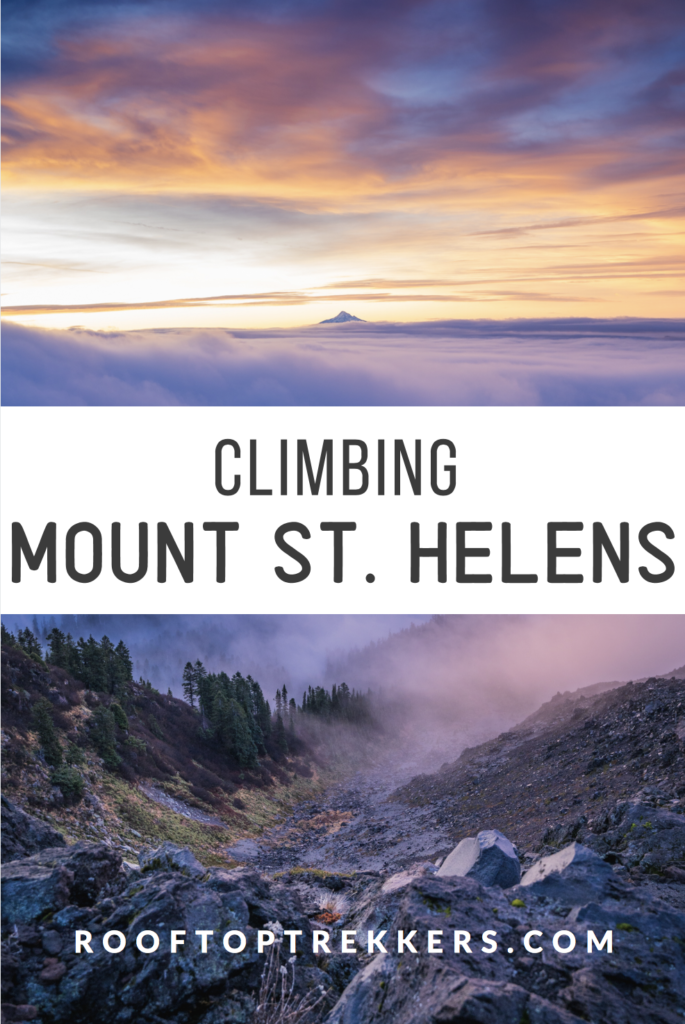
At this point we were still in the clouds. We were starting to get concerned that it would be a complete white-out, even at the summit. While in the boulder field, you’ll want to follow the large wooden poles. The poles are spaced about 100-200 feet apart and will guide you towards the summit. At times they were tough to see due to the fog, & some of them are even marked with arrows. Be sure you pay close attention and stay on track. As we approached the top of the boulder field, we broke out of the clouds and were rewarded with views into Oregon. To the south, Mt. Hood and Mt. Jefferson shot through the clouds as the sky burned to the east. This is a moment I will never forget.
SECTION 3: The Ash
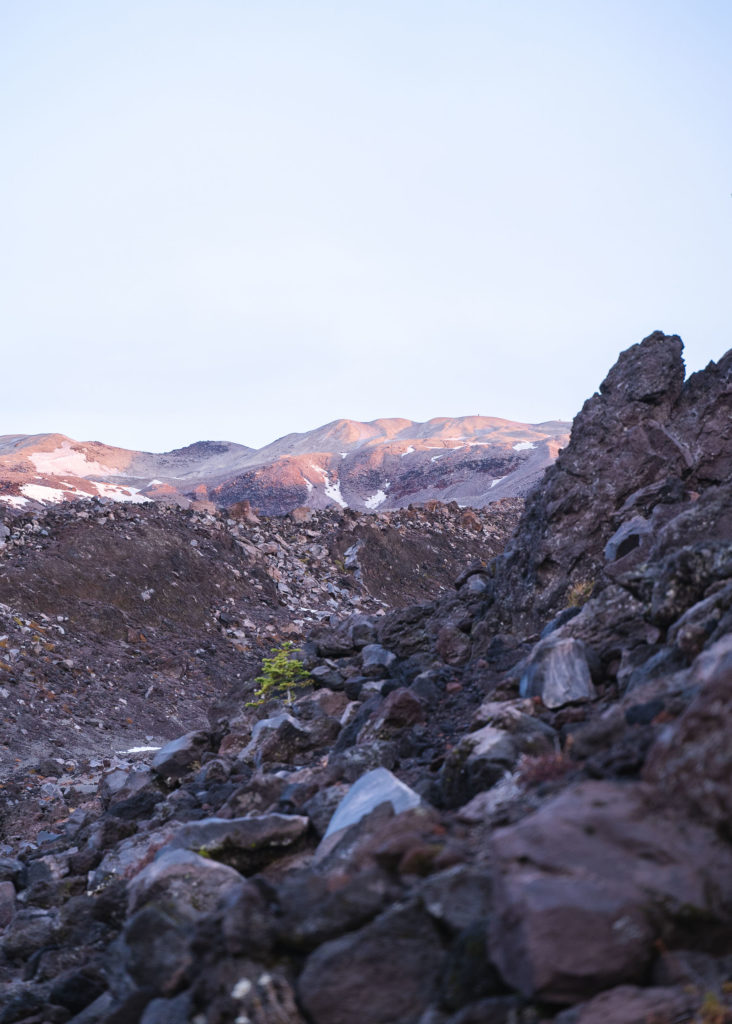
After pushing through the rest of the boulder field, you can start to see the summit. This is where the true slog begins. For me, the scrambling through the boulders is fun & engaging, but the ash is just punishing work. Ever hike uphill in sand? That’s pretty much what this section feels like. At times, it seemed like we’d take 2 steps forward and slide 1 step back. Hiking poles helped big time! Before we knew it, we approached the rim of the volcano.
MOUNT ST. HELENS SUMMIT
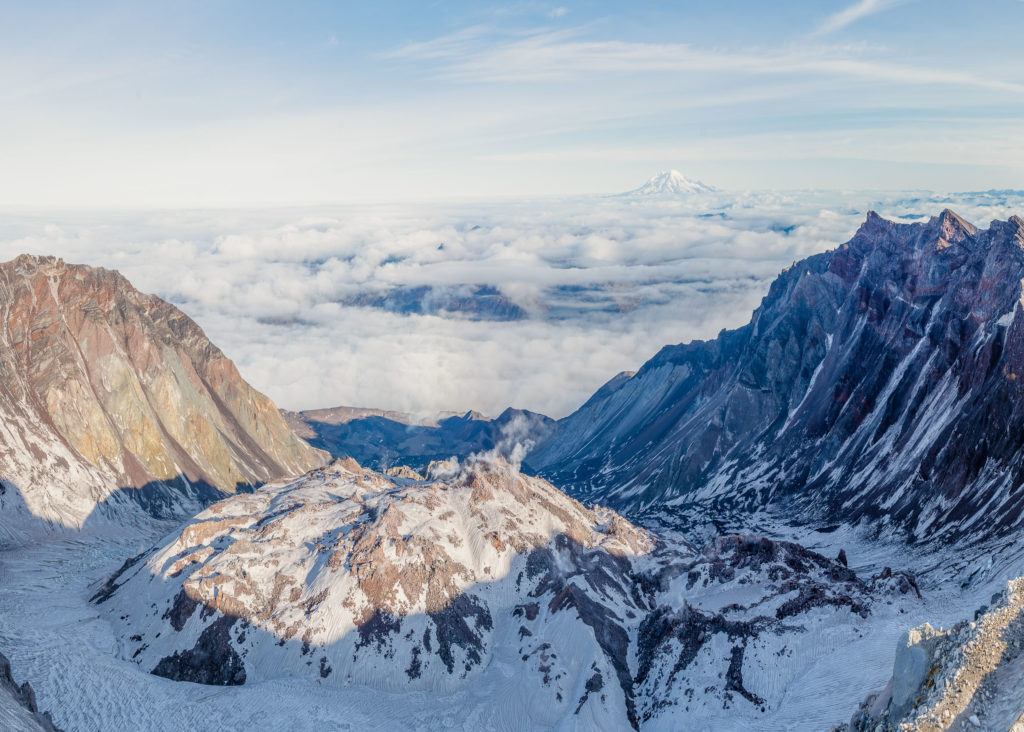
Time to soak in the views! The views down over the rim are simply jaw dropping. Exposed volcanic rock sits inside the rim, as another volcano is popping up in the center of the giant, empty hole. It’s hard to believe there was a whole mountain on top of that. Mother Nature is truly impressive. The icing on the cake is the steam pouring from the fumaroles as Mt. Rainier sits elegantly in the distance. Each and every step was worth it for these views. We enjoyed it and stayed away from the edge of the rim!

GOING DOWN
For us, going down was harder than going up – especially in the boulder field. Hiking poles helped big time & I’d highly recommend bringing them along. Gaitors also wouldn’t be a bad idea on the way down as we got lots of rocks & ash in our shoes. We passed several parties of hikers coming up. Be sure that hikers going down yield to up and if you knock any rocks loose, make sure to yell ROCK! Good etiquette is key. We made it back to the car by 2pm and cooked up a little meal with our Rooftop Tent Kitchen.
FINAL THOUGHTS
- Mt St Helens hike is rated as difficult and must be taken seriously.
- The hike gains 4,500ft over 5 miles and reaches 8,365ft.
- Be sure to sign in & out at the trailhead.
- You need a permit to summit….read more here.
- The trail head is a fee zone.
- Mt St Helens hike requires plenty of water, food, and sunscreen.
- Use Leave No Trace Principals.
- Use poles going down.
- Enjoy the climb! It is truly a breathtaking experience and worth every step.
Watch this video from a previous summit of Mt. St. Helens.
Thanks for reading this article. We hope that you, too will summit Mount St. Helens someday soon. A Roofnest helped make this an enjoyable climb. If you are still looking to purchase a Roofnest Tent, order here. Feel free to reach out with any questions or comments.
Life’s better on top!
Mount St. Helens Image Gallery
Want to see more photos? Explore the image gallery.
Like this post? Pin it to Pinterest!
About us.



This Post Has 3 Comments
Hi guys. We’re putting a 2-year old Roofnest onto our 2020 CrossTrek. Do you have recommendations for the cross bars you put on top of your CrossTrek roof rack?
Thanks,
Alvaro and Maggie
Hey guys,
We use Yakima Jetstreams and Timberline towers. Any strong aftermarket bars will work. Check out more, here: https://www.rooftoptrekkers.com/will-a-rooftop-tent-fit-my-crosstrek/
Cheers, Ben
Pingback: 7 Camping Coffee Brew Methods in 2023 – Rooftop Trekkers